


For stainless steel sculptures like this walleye, Steve Nielsen uses many different grits of abrasives before finally finishing with a buffing wheel. Images: Steve Nielsen Art
Sometimes you look at art to find something about yourself. With a stainless steel art piece, you don’t have to look that hard.
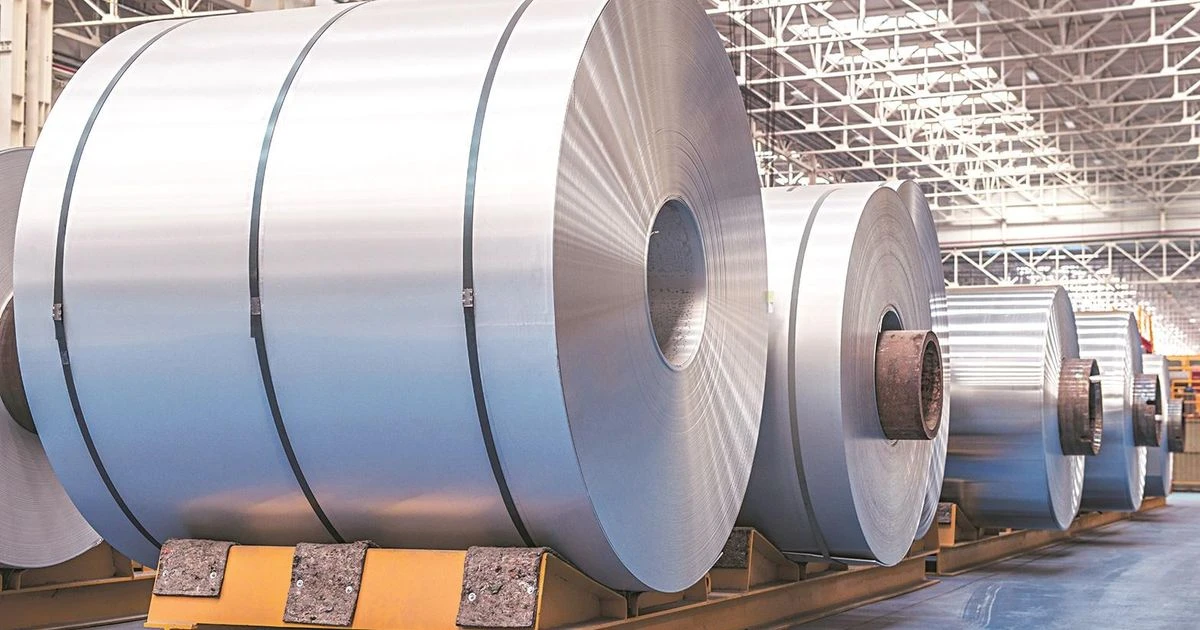
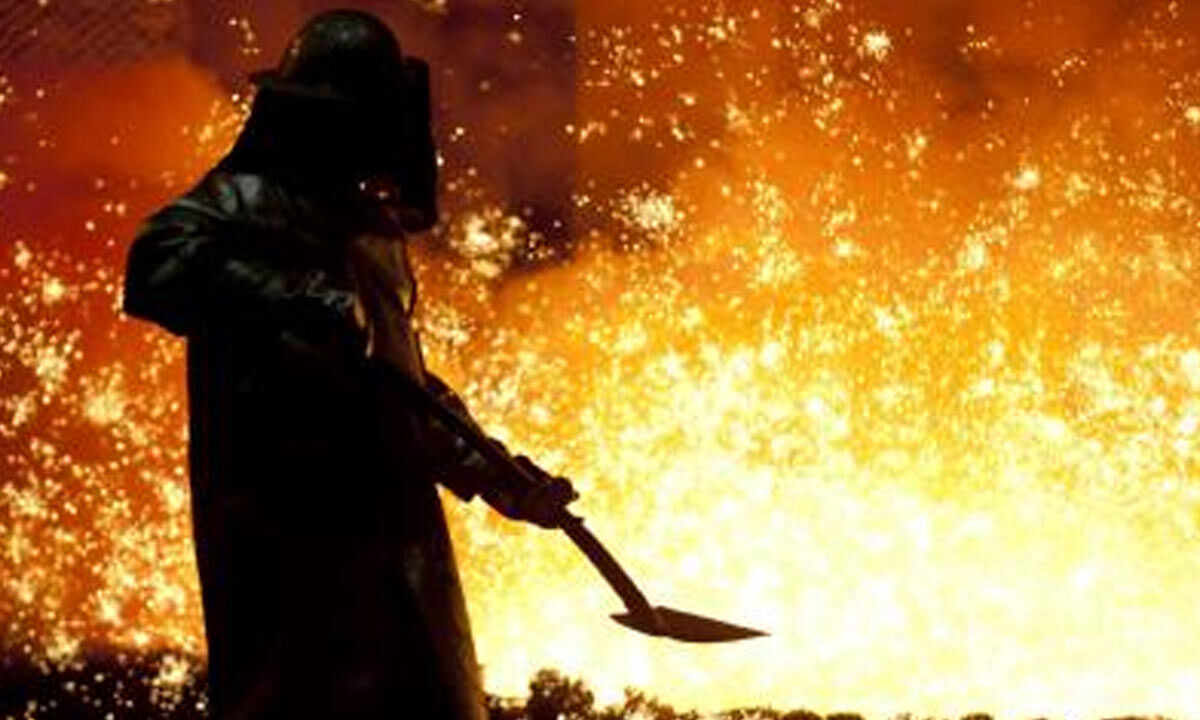
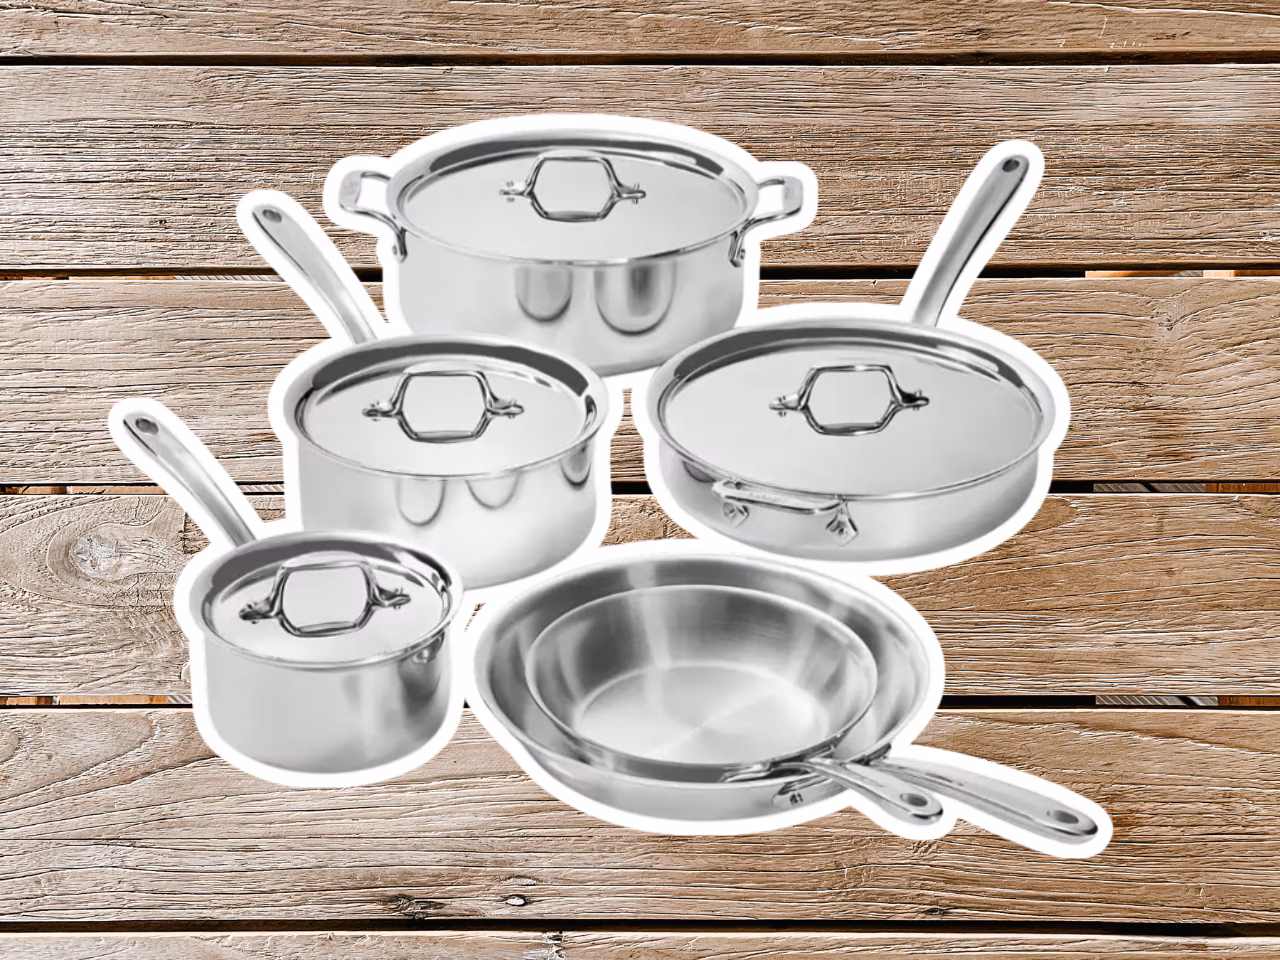
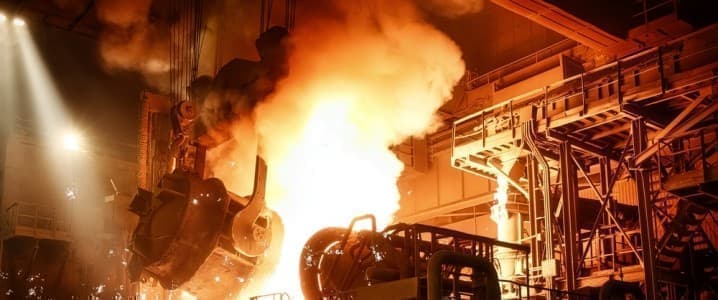
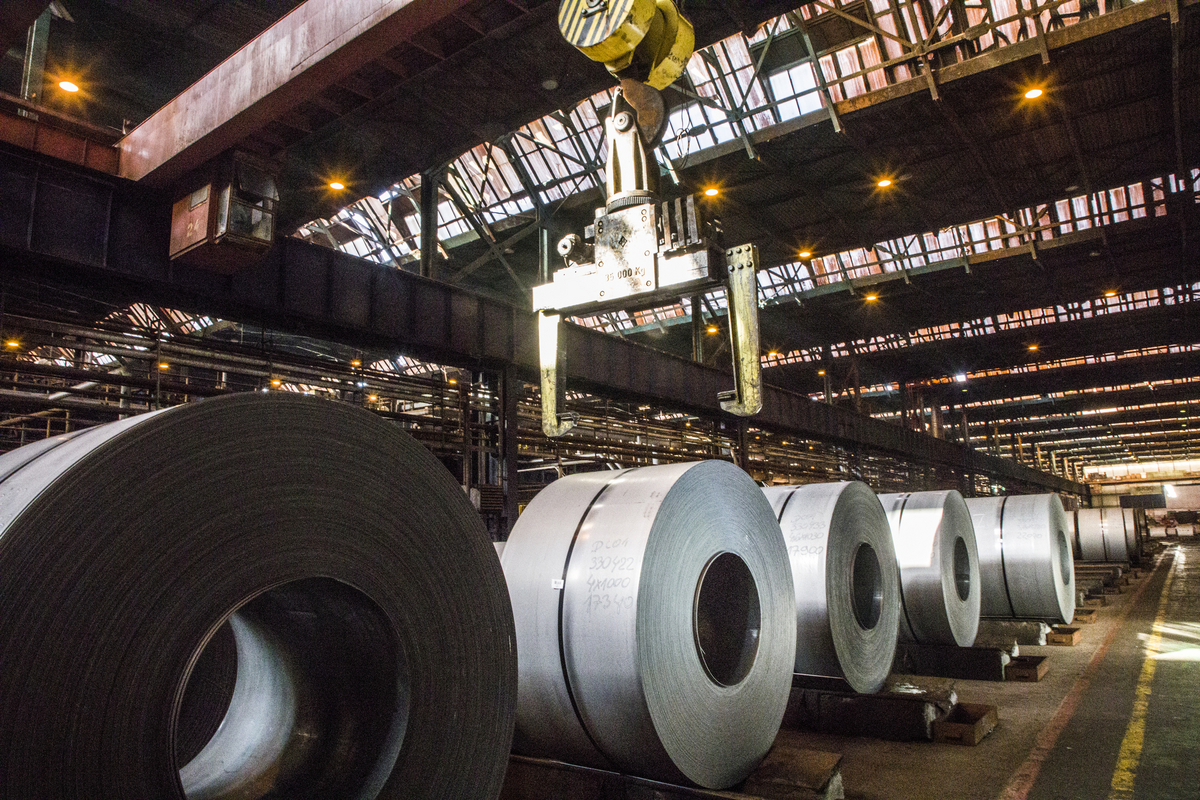
Stainless steel is a finicky material to work with. It has great corrosion resistance, which is why you see it used in all sorts of food-related applications, but it conducts heat poorly when welded, concentrating it in the joint area. The lack of heat distribution can cause uneven material expansion and contraction, which can lead to weld distortion. Once welded, stainless steel is susceptible to marring if the proper protections are not put in place. Trying to remove a deep scratch, for instance, requires some elbow grease and skilled hands.
But when the material is polished to the point that it’s a mirror to the world around it, people notice. They literally see themselves in the work.
Steve Nielsen of Oroville, Calif., has developed a bit of a reputation for his stainless steel fabrication work. And that helped to launch his metal artist career.
From Truck Parts to Metal Art
For years, Nielsen ran his own company, designing, making, installing, and shipping fully adjustable air suspension system for trucks. But the artistic bug was always there, as he dabbled in airbrushing and custom painting of motorcycles and helmets and worked on some murals.
Then in 1998, he purchased a high-definition plasma cutting table to help expand his air suspension business. It ignited his creative side as well. “I must’ve made hundreds of skeletal art pieces, like a 12-ft.-long crocodile and a 9-ft. long dinosaur,” he said.
By 2006, he worked hard late at night and on weekends to expand his artistic endeavors. Ultimately, he made a couple of stainless steel salmon sculptures for a local casino. Word got around, supported by pictures of the work on Nielsen’s MySpace page, and he started getting more requests for different sized salmon and trout sculptures. That was followed by a job for metal butterflies, which everyone seemed to love as well.
“About that time, Facebook became a thing, and everyone was on it,” Nielsen recalled. “I was working 24/7 to keep up with all of my side art business while still dedicated to building and shipping out air suspension kits.”
The Artistic Path
In January 2013, he decided to walk away from the truck aftermarket parts business and focus 100% on his art. He spent all of his time those first few months completing a stainless steel eagle for the city of Oroville. He had been working on the sculpture, which had 4,000 feathers, since the spring of 2009.
As a full-time metal artist, Nielsen has spent many hours making his stainless steel work stand out. Here’s his advice for people looking to follow in his footsteps:

This sculpture of a brown trout was shaped from 18 gauge steel and detailed with airbrush paint.
“On stainless steel, if you want a perfect mirror finish, you have to start sanding with whatever grit will remove the deepest scratches or textures in the piece you are working on—typically 60 to 120 grit to start. Once those scratches are gone, I’ll sand in one direction before going up to the next higher, finer grit. If you started with 40 grit, the next grit will be 60 grit. Once each grit removes all of the previous grit scratches, remember to cross-sand 90 degree of the previous grit. If you missed any of the deeper scratches they will show. Make sure all scratches are gone from your previous grit before moving on.
“As a rule of thumb, I don’t like skipping any of the following grits with stainless. Sanding carefully with each grit is time-consuming, but arguably it’s a lot less time than trying to polish deep scratches with a buffer.”
So as the process goes, after sanding with 60 grit, Nielsen follows up with grits of 120, 240, 400, 600, 800, 1,200, and 2,000, ensuring that the scratches from the previous grit are completely removed before moving to the next. He finishes sanding at a high grit, say 2,500 or higher depending on how perfect a mirror finish is desired. On some polished stainless sculptures, he has finished with 3,000 grit before moving on to a buffer.
For buffing, Nielsen uses a black polishing compound on a spiral sewn 8-in. buffing wheel, striving to polish in the same direction. Once he’s achieved the best finish possible with the black compound, he moves to a loose, non-sewn, 8-in. buffing wheel and uses green or white compound to bring out that bright, flawless mirror finish.
Nielsen added that he likes working with Dynabrade air tools and 3M and Norton abrasive discs. He also noted that when working with stainless steel, it’s important to use brand new abrasives that haven’t been used on other types of metals or alloys to avoid cross contamination. The same goes for buffing wheels.
“Once you perfect the process [of stainless finishing],” he said, “it can be duplicated by anyone as long as they are willing to do the work.”


